5 Things I Added to My First Aid Kit After Rolling My Ankle
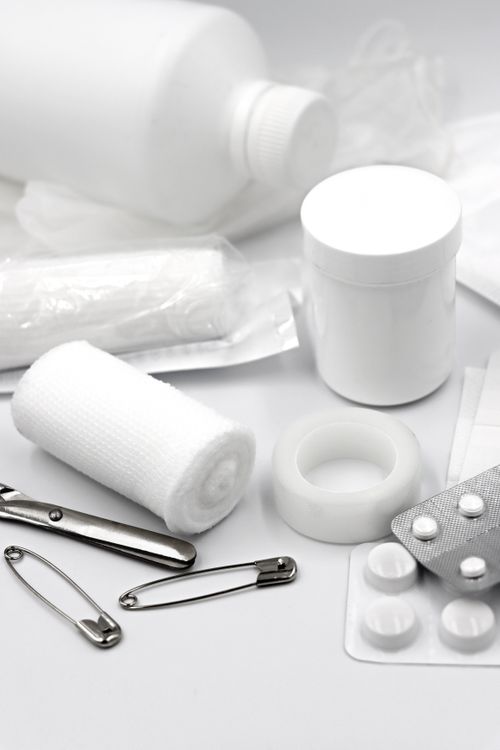
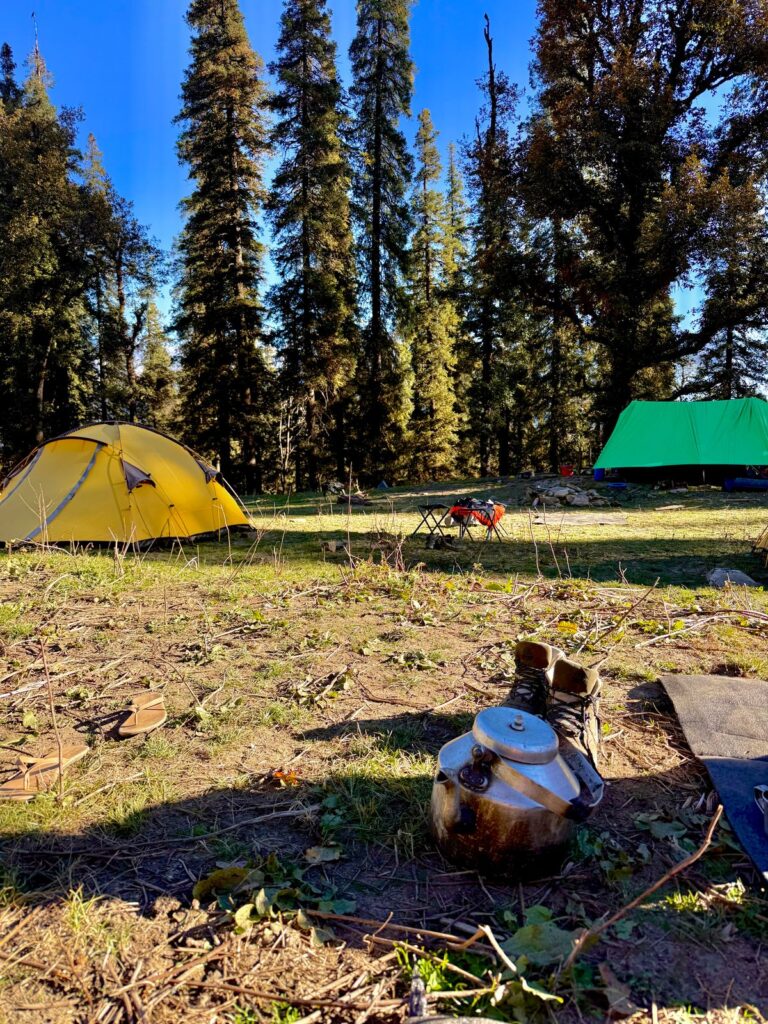
I rolled my ankle on a steep descent about two miles from the trailhead. My foot didn’t roll inward the way it usually does — it rolled outward, and I collapsed right on top of it. I sat there on the trail swearing until I ran out of breath, then realized my first aid kit had band-aids and a roll of gauze. That’s it.
After walking out using my trekking poles as crutches, I spent the next week rethinking my entire approach to first aid on the trail.
The honest answer: most cheap pre-assembled first aid kits are designed for paper cuts, not ankle injuries two miles from your car. Here are five things I added to mine that I now consider non-negotiable.
The day I rolled my ankle, my trekking poles turned into crutches. That got me back to the trailhead, but my first aid kit didn’t help at all during the walk. I didn’t have an ACE bandage to stabilize the joint. I didn’t have any anti-inflammatory medication. I had band-aids, gauze, and medical tape — stuff that’s useful for blisters but useless for an ankle that’s already twice its normal size.
I realized my kit was designed for the most likely problems (blisters, small cuts) but completely unprepared for the moderately likely problems (sprains, deeper wounds, infections). So I rebuilt it.
1. A Ziplock Irrigation System
Commercial wound irrigation syringes take up space and cost money. A wilderness first aid instructor I know recommended something much simpler: pack a small ziplock bag. If you need to flush out a wound, fill the bag with water, use a safety pin or needle (which should already be in your kit) to poke a hole in one corner, and squeeze.
It works just as well as a $10 syringe and takes up virtually no space. I keep one empty baggie folded in my kit with a couple of safety pins tucked inside.
2. Steri-Strips Over Band-Aids
I used to think a band-aid was fine for any cut. Then I heard a story about a hiker who fell and broke his glasses at the bridge of his nose. The frame snapped and left a small cut between his eyes that bled like crazy. Nothing in a standard first aid kit would have stopped that bleeding effectively.
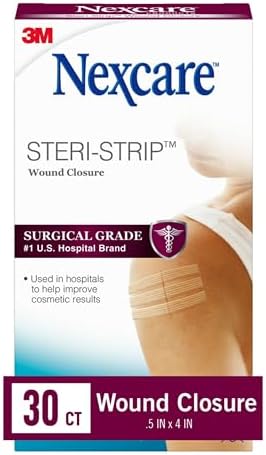
Steri-strips (or butterfly bandages) close deeper wounds by pulling the skin together from the sides. They’re tiny, weigh nothing, and handle cuts that band-aids can’t. I carry four of them now and they take up about as much space as a couple of band-aids.
3. An ACE Bandage
This one seems obvious in hindsight, but I just didn’t think about it. An elastic bandage stabilizes sprained ankles, supports strained wrists, and can be used to apply pressure to a bleeding wound. It’s one of the most versatile items you can carry.
After my ankle incident, I specifically added a light elastic bandage that doubles as a compression wrap. I also added a triangular bandage for upper extremity injuries — it can serve as a sling, a tourniquet in emergencies, or even a makeshift head bandage.
4. Betadine
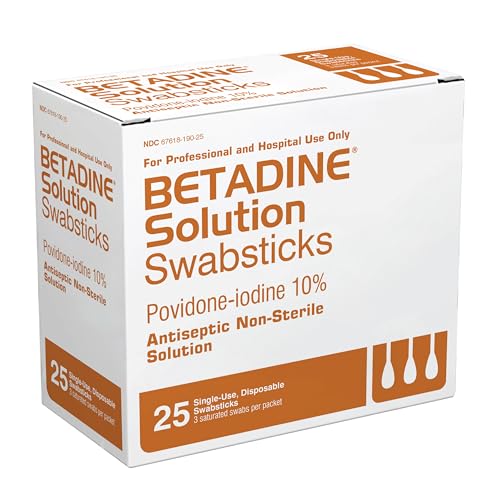
This was a suggestion from a commenter that I’d never considered. Most hikers carry water purification tablets. But Betadine (povidone-iodine) can do double duty: it disinfects wounds AND purifies water.
Replace your single-use water purification tablets with Betadine, and you’ve freed up space while adding wound care capability. Just follow the correct dosage for water purification (typically 2-4 drops per liter, wait 30 minutes).
5. Properly Labeled Medications
I used to toss loose ibuprofen and antihistamine pills into a single baggie. After researching proper kit organization, I learned this is a terrible idea for three reasons.
First, you need the dosage clearly visible — 200mg ibuprofen is very different from 50mg diphenhydramine. Second, expiration dates matter. And third, you need the instructions. If someone else needs to give you medication on the trail, they need to know what’s in that baggie.
Here’s what I do now: I use tiny resealable baggies (available at art supply stores, sold in packs of 50-100). Each baggie gets a label with:
- The medication name
- The dosage (e.g., 200mg)
- The expiration date
- A tiny cut-out of the instructions from the box
I also add a small square of cotton flat under the pills to keep them from breaking inside the bag.
What My Kit Looks Like Now
Here’s everything I carry, organized by pouch:
Pouch 1 — Wound Care:
- Steri-strips (4)
- Ziplock bag + safety pins
- Band-aids in assorted sizes
- Medical tape
- Small gauze pads
Pouch 2 — Injury Support:
- ACE bandage (elastic)
- Triangular bandage
- Trekking poles (carried separately, used as crutches)
Pouch 3 — Medication & Treatment:
- Ibuprofen (labeled with dosage/expiry)
- Antihistamine (labeled)
- Betadine (10ml dropper bottle)
- Electrolyte powder packets
Pouch 4 — Repair & Tools:
- Sawyer filter spare O-ring
- Mini ferro rod
- Tweezers
- Safety pins
Gear I Recommend


Total weight of my upgraded kit: about 150g (plus trekking poles). That’s less than a snack bar, and it makes the difference between hobbling out in pain and actually stabilizing the injury on the trail.
I still carry the same attitude I had before — I don’t want my pack to be heavy. But I’ve learned that 150g of the right gear is worth more than 500g of the wrong gear. My first aid kit failed me once. It won’t happen again.