How to Start Hiking When You’re Broke
How to Start Hiking When You’re Broke
I started hiking because my doctor told me to move more and my wallet told me gym memberships were out of the question. Problem was, every beginner hiking guide I read assumed I had a couple hundred dollars to spend on gear I wasn’t even sure I’d use. So I did what any broke person would do — I ignored the advice and started with nothing.
Yes, you can start hiking with very little money. All you truly need are comfortable shoes you already own, a bottle of water, and access to a beginner-friendly trail under 3 miles. That’s the complete list. Expensive gear is marketed as essential, but for your first hikes, it’s optional at best and a waste of money at worst.
That answer probably sounds too simple. I thought the same thing when I started reading those guides that told me to buy $150 boots and a $70 daypack before my first walk in the woods. But I went anyway, and I learned more from my mistakes than I ever would have from buying everything upfront. Here’s exactly what I used, what I bought used, and what I learned to never cheap out on.
What I Actually Used for My First Hike on the MacLehose Trail
I live in a small Hong Kong apartment with no storage space and a bank account that laughs at outdoor gear prices. So when I decided to try Section 2 of the MacLehose Trail — one of the most popular beginner hikes in Hong Kong — I raided my closet instead of an outdoor store.
Footwear: My Regular Running Sneakers
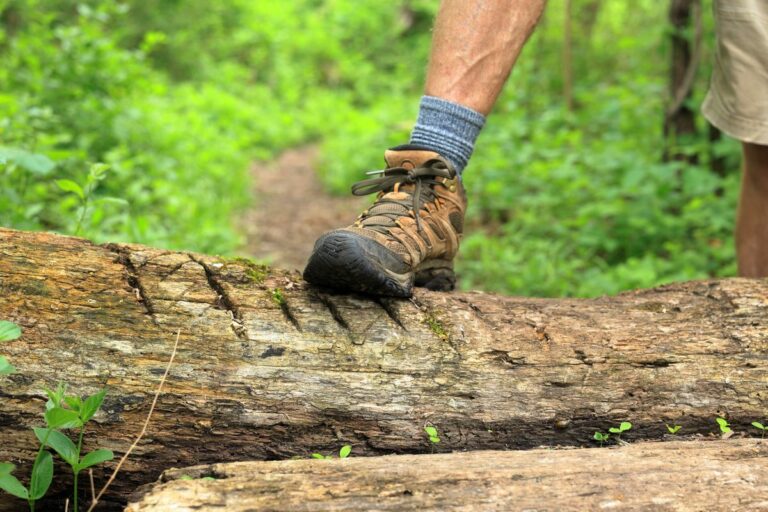
I wore a pair of three-year-old New Balance running shoes that had seen better days. Were they ideal for hiking? No. Did they get me through the trail? Barely — I got four blisters that turned into a two-week ordeal. But I learned exactly what I needed from that experience, which is more than any gear review could teach me.
If your current shoes are comfortable and have decent grip, they’ll work for your first few short hikes on well-maintained trails. You don’t need hiking boots to walk on a dirt path. Save the boot purchase for after you know you’ll stick with hiking. (Read about my blister disaster here if you want to learn from my mistakes.)
Clothing: Whatever I Had in My Drawer
I wore an old cotton t-shirt and running shorts. Cotton gets sweaty and stays wet — that’s not ideal — but for a 2-hour hike in mild weather, it was completely fine. I brought a light windbreaker from a brand I can’t even remember, probably bought at a street market for $10.
The rule of thumb I now follow: if you’re comfortable walking around your neighborhood in it, you can hike in it. Technical fabrics are nice, but they’re not required for your first few outings.
Water: A Reused Plastic Bottle
I filled a 500ml plastic water bottle that I’d washed and reused at least twenty times. Was it enough water? No — I ran out halfway through and was miserable on the return leg. But the solution wasn’t buying a $40 hydration bladder. It was simply bringing a second bottle from home.
For a 2-3 hour beginner hike, bring one liter of water per person in whatever container you have. If that means tap water in an old soda bottle, that’s fine.
Navigation: My Phone With Google Maps Downloaded
I didn’t own a compass, GPS watch, or any navigation equipment. I downloaded the trail map onto my phone using Google Maps offline feature before I left home. Cell reception was spotty on parts of the trail, but the offline map worked well enough to keep me from getting lost.
AllTrails is also free to download and lets you access trail maps offline. That’s the only navigation tool you need for popular, well-marked beginner trails.
How to Get Gear for Cheap (or Free)
After a few hikes, I did start wanting some basic gear — better shoes, a small daypack, a proper water bottle. But I refused to pay retail. Here’s where I found everything.
Thrift Stores and Charity Shops
Hong Kong has a handful of charity shops where I found a barely-used fleece jacket for $4 and a pair of hiking pants for $6. In the US, places like Goodwill and Salvation Army regularly carry outdoor gear. My friend found a North Face fleece for $8 at a thrift store in Colorado.
The outdoor industry wants you to believe last season’s jacket is worthless. Thrift stores know better.
Facebook Marketplace and Gear Trade Sites
Facebook Marketplace is where I found my first proper daypack — an Osprey Daylite that someone used exactly once and sold for $30 (retail price is $70). I also picked up trekking poles for $10 that have lasted me two seasons.
Other places to check: REI’s Re/Supply section (they sell returned gear at significant discounts), GearTrade.com, and eBay. Set alerts for items you want and wait for a good deal.
Borrow From Friends
This is the most underrated gear hack. Most people who hike own gear they barely use. I borrowed a friend’s sleeping bag for my first overnight attempt and realized I didn’t actually enjoy camping enough to buy my own. Saved me $150 right there.
If you’re trying overnight trips, borrow the expensive stuff first. Figure out what you actually use, then buy your own versions used.
What to Buy First vs What to Never Buy
After a year of hiking on a budget, here’s my hierarchy of what’s worth spending on and what isn’t:
Never buy upfront: Hiking boots (trail runners or sneakers work fine for most beginner trails), fancy backpacks (any bag works), hiking-specific clothing (regular workout clothes are fine), GPS devices (your phone works), trekking poles (find a stick on the trail or borrow first).
Worth buying used: A proper daypack once you know you’ll keep hiking, a water filter for longer trips, a headlamp, base layers.
Worth buying new (when you can afford it): Good socks. That’s it at the beginning. Eventually, decent trail runners or approach shoes. But not on day one.
The One Thing I Eventually Learned to Spend Money On
After my blister disaster, I invested in one piece of gear before anything else — proper hiking socks.
A pair of merino wool socks (I use Darn Tough, but any merino blend works) costs around $15-20. That single purchase changed my hiking experience more than any boot or backpack ever could. Merino wool manages moisture, prevents blisters, and regulates temperature better than any cotton sock.
If you have $20 to spend on hiking, spend it on socks. Everything else can wait.
For more on foot care, check out my blister prevention guide.
What My First Hike Actually Looked Like (The Honest Version)
I walked 8 kilometers in shoes that didn’t fit quite right, wearing a cotton t-shirt that was soaked with sweat by the halfway point. I ran out of water. I got lost once for about ten minutes. I sat on a rock and ate a granola bar that had been crushed into crumbs at the bottom of my canvas tote bag.
And I loved every minute of it.
The view at the top of the hill was free. The fresh air was free. The feeling of doing something hard with nothing but my own two feet — that was free too. I went home exhausted, covered in bug bites, with blisters forming on both heels. And I planned my next hike before I’d even taken a shower.
That’s the truth about starting hiking when you’re broke. It’s not pretty, it’s not comfortable, and you’ll make mistakes. But you’ll also discover that most of the barriers between you and the trail are manufactured by people trying to sell you things.
How to Progress Without Spending More
Your first hike should be short, close to home, and on a well-marked trail. After that, here’s how to get better without getting poorer:
Walk more, not farther. Hike the same short trail twice a week instead of trying a longer one. Your body will adapt, and you’ll build real hiking fitness for free.
Increase distance slowly. Add no more than 10-20% to your hike length each week. This prevents injuries that would force you to take time off — or worse, pay for medical care.
Pay attention to what bothers you. If your feet hurt, that’s a sign you might need different shoes — but only after you’ve done enough hikes to know it’s not just lack of conditioning. If your shoulders ache, that’s different from your pack being poorly adjusted.
Use free resources. YouTube has thousands of free hiking technique videos. AllTrails basic is free. Local hiking groups on Meetup or Facebook are free to join and often have members willing to share advice (and sometimes gear).
For post-hike recovery on a budget, I wrote about how I built a zero-cost home recovery station. And if you’re wondering whether hiking is worth the soreness, read how hiking for three months changed my resting heart rate.
Final Thoughts
The question isn’t “Can you afford to start hiking?” It’s “Can you afford not to?”
Walking in nature is one of the few things left that’s still free. The gear industry will try to convince you otherwise, but the trail doesn’t care what you’re wearing. It just waits for you to show up.
Start with what you have. Learn from your mistakes. Upgrade slowly, and only when you know what you actually need. Your wallet — and your body — will thank you.